22 December 2015

Headlights

Did some headlight improvements.  I don't care for any of the aftermarket headlight designs offered.  And I don't want to deal with the learning curve and the labor to make something like an E38/E39 upgrade (which, I admit, would look nice).  So, following this article, I upgraded the headlight bulbs to HIR.  I bought them from this store for $73.00r/set.

Polished the headlights with 3M restoration kits.  The 3M kit works great, but I think it's a stretch to do 2 lights with one kit.  So I bought 2 kits, one for each headlight.

I tried to protect the lenses with Lamin-X clear film but I was unhappy with my DIY result.  I am going to ask my detailer to install another set of them, hopefully better than I did.

Philips German-made 9012 and 9011 HIR bulbs, high and low beams, $73.00r
3M Headlight restoration kit, used one for each headlight, $14.99r each
Lamin-X clear film for Z3, $34.95r

Total cost of this mod = $137.93
Total investment in vehicle to date = $6454.99


Progress
Complete


11 December 2015

Refinishing the headliner (Part 1)

The headliner in the car was sagging when I bought it.  Removal and refinishing takes a lot of labor but the cost of the materials is low.  This means it's easy to add value to the car.  To remove the headliner, BMW says you have to remove the windshield and take it out the front of the car.  That may be true but there was no way I was going to do that unless I needed new glass.  I removed mine by unfastening the headliner completely, with all pieces, lights, and trim removed, then by removing both seats.  The headliner can shimmy its way out of the car via the passenger side door opening.  It doesn't work perfectly and you need 4 hands to move it out, but it does work.  You have to compress the corners a little bit but the headliner will pop back into form okay.  The windshield way would be the best way, for sure.  So, if you are getting a new windshield, consider doing these 2 jobs together.

I elected to recover my headliner with black Ultra Suede.  Ultra Suede is made by a company that makes synthetic suede like the famous Alcantara, but for less cost.  And, they have a jet black color that is a true black, unlike Alcantara which is at most very dark gray.  This material has a thin foam backing on it.  I sourced it from Graham Fabrics.  I used DAP Weldwood HHR for adhesive.  Really nice stuff, but I could only get it in a gallon container (e.g.: that is a lot of glue).  I love the strength of 3M Super 90, but the overspray is a pain and I think this is actually stronger.  Remember if the seats are disconnected, do not start they car or even turn it to the on position, you will trigger an airbag warning light.

When I pulled the rear speaker grills to remove the headliner, I noticed the foam surrounds had turned to dust.  They were just gone.  I planned on upgrading audio in this car later, but I might as well replace the rear speakers now.  I went with Alpine units with small cross overs that easily fit into the headliner recesses.

While the headliner was out, I also ran power and ground to the later S52 autodimming rear view mirror and A-pillar gauges, which will be coming later.

DO MAKE SURE you read this additional post with tips on how to remove the headliner.

Headliner material, Onyx Black, 4 running yards, $14.95r each
Headliner glue, DAP Weldwood HHR (High Heat Resistance), $29.95r
Headliner fasteners, 51111944537, one-use-only, $0.31r each, need 2
Alpine SPR-50C component speakers, $299.99r

Total cost of this mod = $390.36
Total investment in vehicle to date = $6317.06


Saggy

Seats removed helps some, headliner will go out passenger door opening.

Headliner rounding the corner.


The foam surrounds on the rear speakers were gone.  Turned to dust!  Will be replacing them with aftermarket units.

What is under the headliner


08 December 2015

The Spirit of Ron Stygar: "keeping the car fresh"


Ron Stygar used to change the fender well liners in his cars “to keep everything fresh” he used to say.  I always liked Ron and I learned a great deal about what I know about BMWs from him.  On a continuum, if enthusiast is at one end, fanatic (or "nut" in my case) is in the middle, Ron would be on the other end all by himself.  Anyway, I think about him saying “keep everything fresh” a lot.  So I’m changing out the fender well liners with new.  I suspect Ron probably changed out his fender well liners annually.  No kidding.  

In addition to those parts, I am replacing a whole bunch of other parts that are worn, cracked, missing or flawed.  I won’t go over all of them except for a parts list with prices.  The 
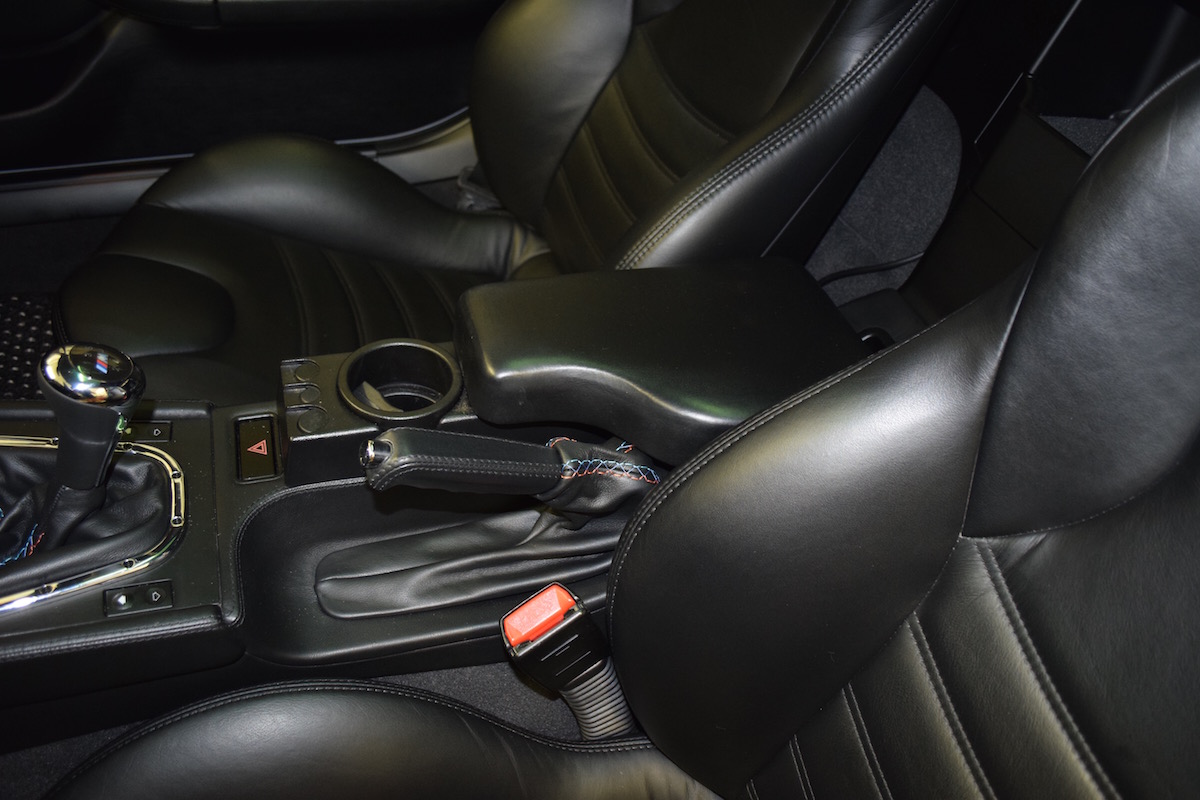
early M coupes had an A/C button that didn’t exactly match the other center console buttons.  The later one did match.  The rear trunk shocks were worn out, so I’m replacing them along with the hood shocks too.  The little rubber bumper in the fuel door had disintegrated.  I’ve replaced those before and I remember them only costing about $1.  Not anymore.  Latest retail on that little rubber bumper is $10.31r!!  The Interstate battery in the car was not connected to a battery vent tube, so I am restoring the car to factory condition.  The windshield cowling on this car looked tired and weathered and was graying, so I’m replacing that with new too.  The windshield arms and the rear hatch spoiler all looked weathered, so I am having those repainted.  My dad paints all the parts for LeatherZ.  He is retired, he has built a small paint booth at his house, and he's quite a good painter.  Good price too, LOL.   

While I have the wiper arms off, ‘might as well’ replace the cowling too.  I used 3M Window Weld Butyl tape for the windshield cowling.  [WTF Blogger, why is the font size wrong here?  I am not trying to yell]  It's not shown in TIS as a part, but it (or something very similar to it) was on the old cowling I removed.  The trick to working with it is put the roll in the refrigerator, take it out when you need it, cut it to length, apply to the cowling, put the cowling in, and then let it come up to ambient temperature.

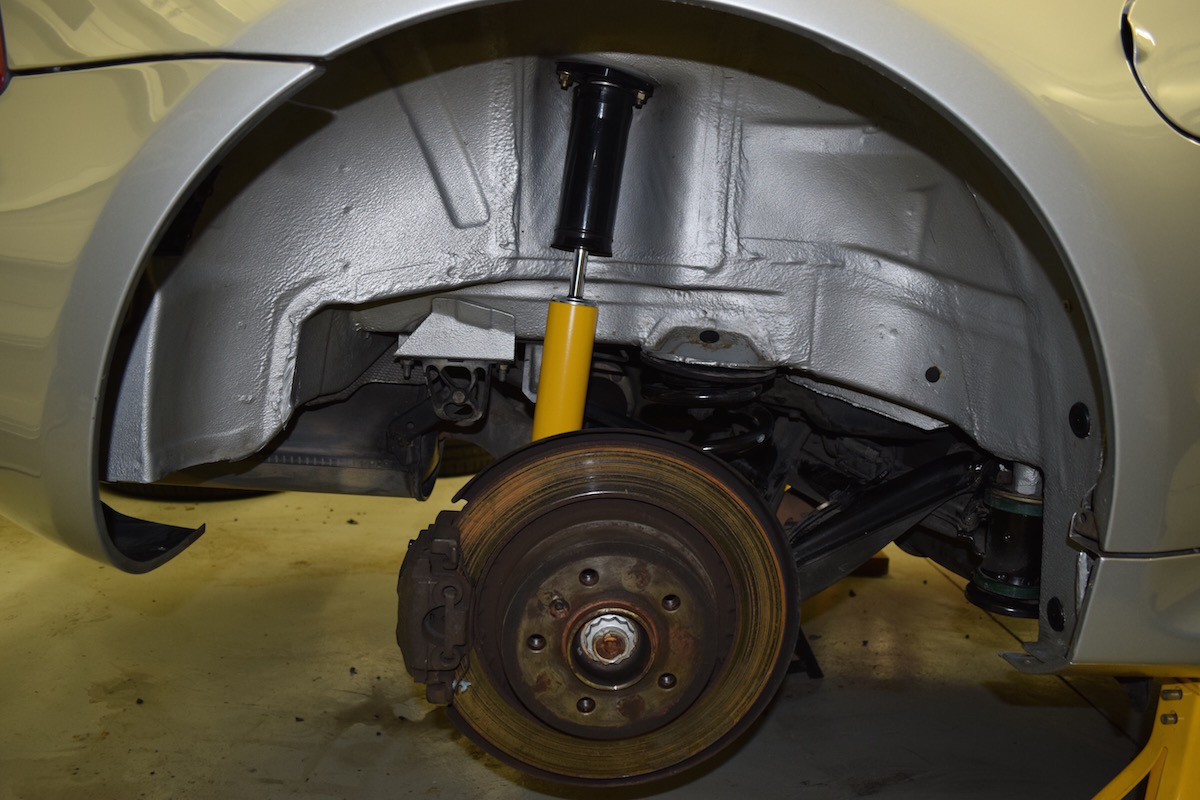
I cleaned the underbody as well as I could within reason.  This will never be a concours car, it will be driven.  But I wanted it clean enough so I can easily spot problems and also so I could start off with a "pretty clean" car.

I did have trouble finding a replacement rear wiper that fit the coupe.  The stock wiper is 11" wide.  There are lots of sleek-looking 11" wipers available nowadays but most do not fit the coupe.  You need an old-school 11".  I went with Trico 15-110 Teflon Wiper Blade, 11" (Pack of 1) from Amazon.

The door handle surround gaskets had cracked, so I got new ones for $12.76r each.  Easy to change those.  All of these things do add up to a substantial cost, but also they add up to a much newer, younger, and sharper car.  And as Ron also used to say, “As always, feel free to do it your way”. 


Prep and paint windshield wiper arms (qty 3), $0.00a
Prep and paint rear hatch spoiler, $0.00a
Sikaflex 255 FC for rear hatch spoiler, $17.57r (Amazon)
3M Window Weld 1/4" x 15' Butyl tape for windshield cowling, $14.99r (Amazon)
JVCC Closed-cell foam tape, $10.79r (Amazon)
Fuel Door Rubber Bumper Stop, 51178153364, $10.31r
Wheel Well Liner FR, 51712268661, $80.04r
Wheel Well Liner FL, 51712268662, $80.04r
Wheel Well Liner RL, 51718400107, $62.24r
Wheel Well Liner RR, 51718400108, $62.24r
Air Dam R, 51718398827, $21.44r
Air Dam L, 51718398828, $21.44r       
Trunk Shocks, 51248399296, need 2, $64.82r each
Hood Shocks, 51238397401, need 2, $53.98r each
S52 engine cover trim, 11121403345, $7.66r
Updated AC button, 61316901575, $85.48r
Hatch Trim top, 51498400143, $38.76r           
Hatch Trim female clip, 51437194187, needed 8, $0.77r each
Windshield cowling, 51318413095, $70.08r    
Windshield cowling fasteners, 51718195811, need 8, $0.56r each
Windshield cowling fasteners 51718186501, need 8, $0.60r each
Antenna, 65218375160, $40.92r          
Door Handle Surround L, 51218400195, $12.76r        
Door Handle Surround R, 51218400196, $12.76r
LEFT LATERAL TRIM PANEL SHIELDING, 51718410029, $9.41r         
RIGHT LATERAL TRIM PANEL SHIELDING, 51718410030, $9.41r
Covering cap, 52108119867, need 2, $0.82r
Rear Wiper Arm cover, 61628357518, $6.76r
Battery vent tube right angle, 61211377835, $2.05r
Battery vent hose, 1 meter running, 61211377745, $2.12r 
Rear wiper blade, Trico 15-110, $14.44r
Front wiper blades, Bosch Icon 21A and 20B, $17.97r and $16.99r

Miscellaneous Hardware that goes with the above pieces:
Body nut, 07129904150, bought 10, $0.41r each
Hex head screw, 07119901299, bought 10, $0.42r each
Expanding nut, 63171367868, bought 10, $0.33r each
Cap nut, 51711934930, bought 10, $0.35r each
Hex head screw, 07119900409, bought 10, $0.62r each
Hex head screw, 07147129161, bought 10, $0.77r each
Fillister head screw, 07149149399, boutght 10, $0.61r each
Screw, 07146959892, need 2, $0.42r each
Cap, 51181823474, need 2, $0.34r each
Washer, 07119904208, need 2, $0.49r each

Total price of this mod = $1332.51r
Total investment in vehicle to date = $5926.70


This is closed cell foam weather stripping I used to replace the 8 pieces that are under the roof rail seals.
New weather stripping pieces in place.  1/8" thick, 65mm long each.
Roof rail seals complete.
This is the adhesive I used to reattach the underhood weather stripping to the car after installing the new cowl.
3M Window Weld applied in groove
New cowling
Correct wiper arm positions.


These brackets help secure the under-radiator cowling.  I found corrosion on them, so I sanded them and refinished them.
Refinished with SEM primer and SEM Trim Black
Here is how the wheel wells started out "before".
Before pic, left rear
Before pic, right front
Before pic, right rear
Cleaning complete, before liner installed

Cleaning complete, before liner installed.  Yeah, if you didn't know, the body should be the same color as the exterior!  Not gray/black/dirt color.
 
Cleaning complete, before liner installed
Left front, complete "after"
Right front, complete "after"
Original A/C on the left in my hand.  New matching A/C installed on the right.  Note the switches we re-ordered too, this is my preferred orientation.
Stupid fuel flap bumper pricing.  Clearly I need to detail the inside of the fuel door!

This car is certainly no stranger to scrapes.  We will get to that eventually.

The rocker panels and nearby underbody came out nice and clean.  Really happy with those.


Shift and Emergency Brake Boots and Shift Knob


I made new shift and e-brake boots for this car.  LeatherZ (which means "I") has been making boots for BMWs since 2002.  I have made boots for 8-series cars, E28s, E30 M3s, M6, you name it.  I have templates for everything.  Nothing I make is a generic or one-size-fits-all design.  For high volume cars, I have templates that I made from sheets of clear lexan.  For less common boots, I have cardboard templates.  I don’t keep anything in stock, everything is made to order.  For this car, I plan on changing the interior color eventually.  But for now, I am using black leather for the boots.  We use OEM BMW leather when we can get it (it is no longer available for sale from BMW, so unless you find a hide in stock somewhere in the world, they won’t sell it anymore, sadly) or Spinneybeck brand leather.  Spinneybeck makes leather for some of the nicest and most important furniture crafters in the world, like Knoll.  It is hyper expensive but unbeatable quality.  In a 55 square foot hide, there are usually only 2 or 3 square feet of scrap.  The cows are all European and they only come from farms who do not use barbed wire.  For these boots, the thread I used was specially imported from Germany.  I bought a newly upholstered steering wheel from Tainik on ebay, which I will be installing eventually, and had him send extra thread I knew would exactly match his wheel.

I thought maybe I would show a few pictures of the process.

Shift boot, MZ3, Black leather with M stitching, boot only reusing the plastic ring that came from the car, $95.00r

Emergency brake boot, MZ3, Black leather with M stitching, boot only reusing the plastic ring that came from the car, $95.00r

Shift knob, illuminated amber, bright chrome with black leather, $140.00r


Total price of this mod = $330.00r

Total investment in vehicle to date = $4594.19

This is my Pfaff twin needle machine.  I bought it in Seattle, used, for about $2000 around 2004 or 2005.  She will sew right through your fingers if you let her.


Templates


Boots in work


I sign and date most boots I build.


My dad builds all of the circuit boards we use in knobs, by hand one at a time.  Andy does assembly.  We use amber LEDs, not red like the stock shift knob uses.
I like the half leather half bright chrome knob because it will never show wear like an all-leather knob.  Unlike some BMW knobs, it's not solid metal so it doesn't get too hot in the summer either.